How to eliminate fish eyes and pin holes in epoxy coatings
How to eliminate fish eyes and pin holes in epoxy coatings
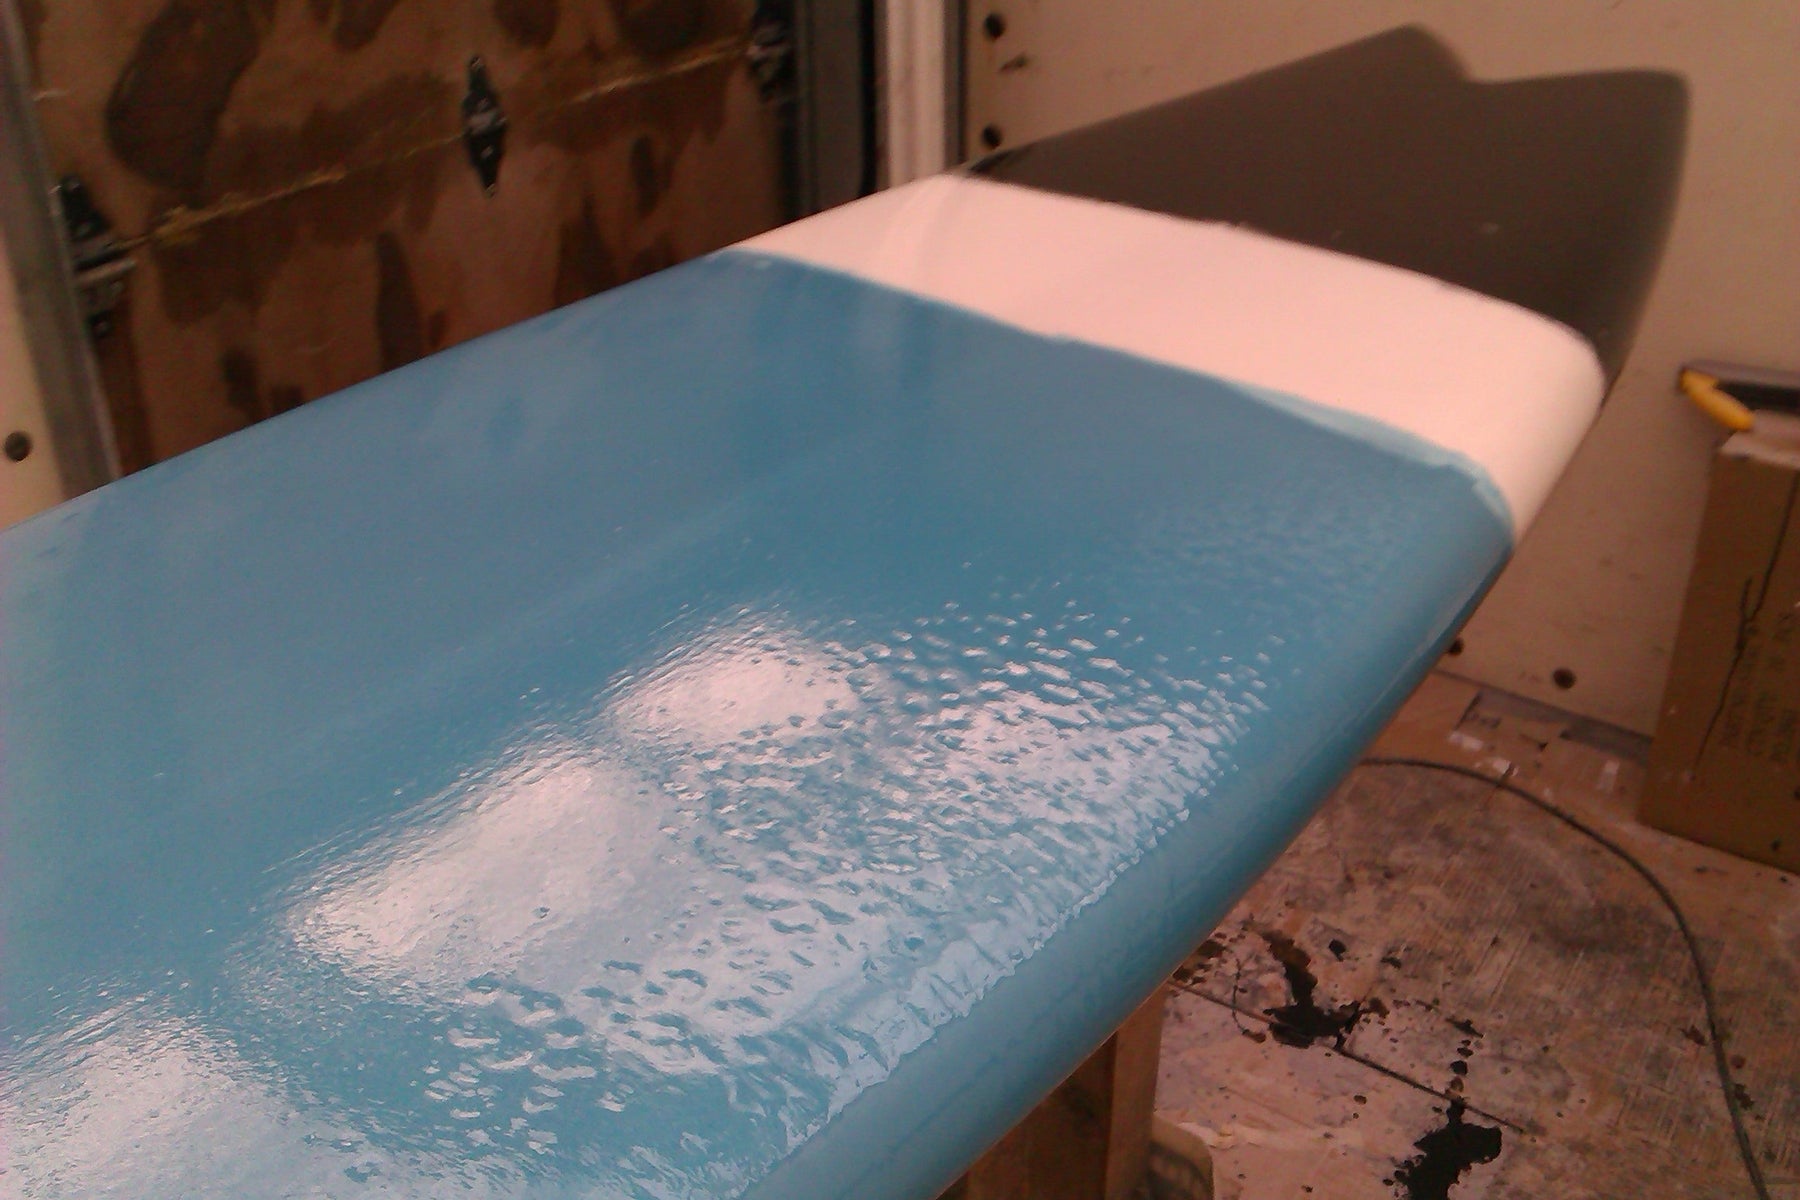
Fisheyes and pin holes are dips, separations, or irregularities in an otherwise flat epoxy coating.
What causes fish eyes and pin holes in epoxy?
Substrate contamination is the most common problem that causes fish eyes and pin holes in epoxy seal coats. Dust, dirt, wax, silicones, even the oil from your fingers when touching the part prior to sealing with epoxy will deter epoxy resins from laying flat and curing with a perfectly smooth surface.
Any contamination on the substrate (in the case of surfboards, the fiberglass lamination) will disrupt the surface tension and cause the epoxy to separate or pit. The epoxy will "run away" from contaminated area.
The quality of your epoxy resin will also determine it's ability to resist or "bury" any contaminants on your substrate. Poor quality epoxy resins made with cheap raw materials will almost certainly fish eye no matter how well you clean and prepare your substrate. Greenlight's new Marine Grade Epoxy Resin is designed to hold a higher than normal epoxy surface tension while curing to bridge over contaminants so your coating lays flat with no pin holes or fish eyes.
Regardless which epoxy resin system you're using, proper surface preparation is key for a nice smooth epoxy seal coat.
Here are the top 6 tips to eliminating epoxy fish eyes, pin holes and separations:
1. Do your epoxy work in a clean, well ventilated environment with minimal air flow that may introduce contaminants to your work area.
2. Wipe the substrate with Denatured Alcohol (DNA) on a lint free rag to pick up most of the contaminants and oils that may be on your work piece. Let the denatured alcohol evaporate completely before applying an epoxy seal coat.
3. Wipe the work piece with an epoxy seal coat prep cloth. This will pick up any additional dirt or debris to leave a clean surface to apply the epoxy coat to.
4. After cleaning and wiping the substrate don't touch it with bare hands! Use gloves, plastic sheets, or wax paper to move or flip your board which will prevent oils from your fingers contaminating the surface. Fingerprints will surely cause a fish eye in your epoxy coating.
5. Use a clean bristle brush, foam or nap roller, or squeegee to apply your epoxy coating.
6. Try to have the work piece and epoxy resin at the same or similar temperature to avoid thermal shock and the resin quickly shrinking leading to an "orange peel" looking surface. If hot resin hits a cold substrate the rapid change in temperature will cause the resin to ripple and stop flowing correctly.
After preparing and applying your epoxy seal coat it is important to avoid introducing contaminants into the "green" first stage epoxy cure.
1. Do not touch the wet epoxy seal coat - Walk away from it and come back about 10-15 minutes later to assess any inconsistencies in the coating. Even walking around the work piece may kick up dust and debris that will settle into your epoxy seal coat and cause a pin hole or fish eye. Just let the resin flow and flatten out for a while.
2. Come back to the fresh seal coat and assess if there are any small issues. Even with proper preparation and cleaning, fish eyes may occur due to environmental problems out of your control. If there are any issues in your epoxy seal coat simply drip some resin that is still remaining in your mixing bucket on the affected area and let the resin flatten out by itself and bond to the surrounding resin molecules.
3. Do not brush over inconsistent epoxy seal coat areas, that will most likely reduce the surface tension and result in a larger fish eye or separation. A drip of extra epoxy is all you need on the area to solve the issue.

In summary, proper epoxy resin seal coats are subject to your work space environment, your preparation efforts, and the quality of your epoxy resin. Using Marine Grade Epoxy Resin and following the guidelines written above will greatly enhance the flatness, gloss, and uniformity of your epoxy coating.

