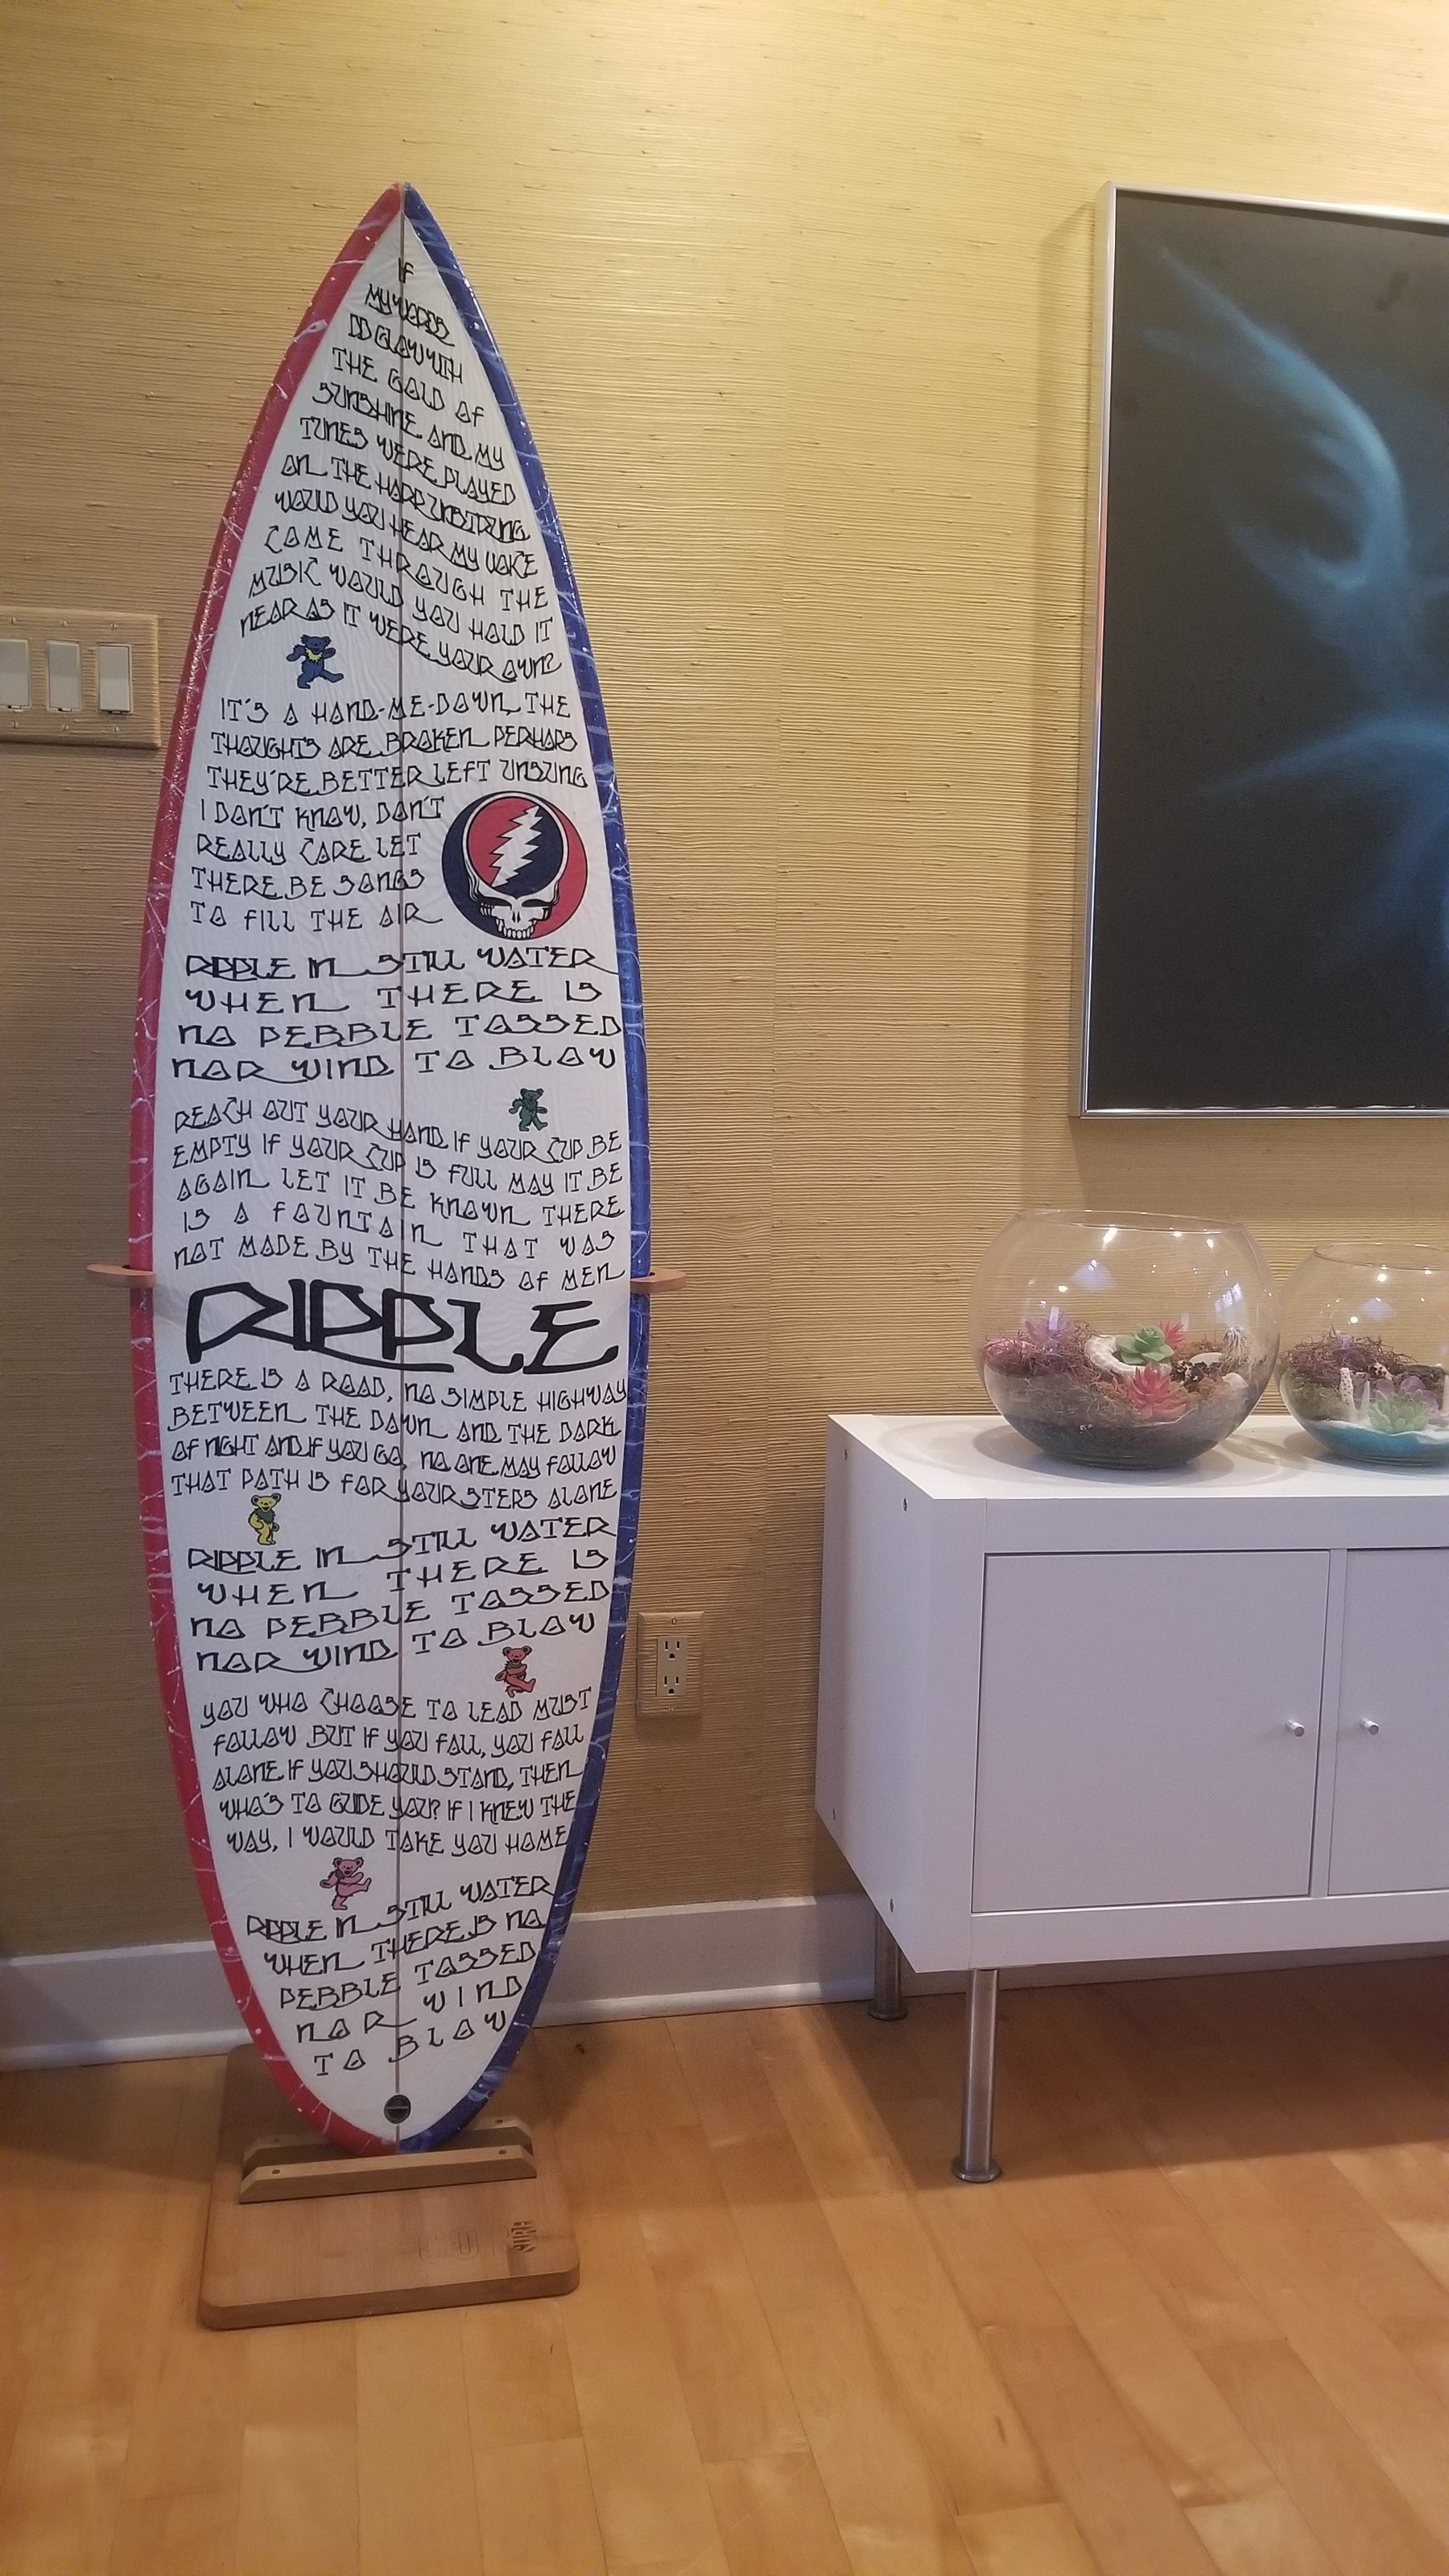
Crafting a Decorative Surfboard: A Step-by-Step Guide
Surfboards are not just for riding waves—they can also make stunning pieces of art for your home, office, or even as a personalized gift. Crafting a decorative surfboard combines the skills of sculpting, fiberglassing, and painting. This guide will walk you through the process, ensuring that your decorative surfboard is a beautiful, eye-catching piece.
Check out our Masterclass Video Series to learn every step to creating beautiful and functional surfboards whether it's a display piece or your very own to ride!
Get the Masterclass videos for only $20 with discount code: SurfDecor
Materials and Tools You Will Need:
-
Materials:
- Foam blank (polyurethane or polystyrene)
- Fiberglass cloth (4 oz)
- Epoxy or polyester resin
- Sandpaper (80, 150, 220 grit)
- Acrylic paint or spray paint
- Masking tape
-
Tools:
- Shaping tools
- Sanding block with sandpaper
- Paintbrushes
- Measuring tape or ruler
- Gloves and respirator (for safety)
Step 1: Design and Plan
Start by deciding on the size and shape of your decorative surfboard. Traditional surfboards come in various shapes like longboards, shortboards, fish, and funboards. For a decorative piece, you might prefer a more exaggerated or artistic design. Sketch your design on paper, including any specific features or decorations you plan to add.
Step 2: Shaping the Foam Blank
-
Outline the Shape:
- Place your foam blank on a flat surface.
- Draw the outline of your surfboard shape directly onto the foam using a pencil or marker.
-
Cutting the Outline:
- Use a hand saw to cut out the outline of your surfboard. Take your time to ensure smooth, clean cuts.
-
Refining the Shape:
- Use shaping tools like a G-rasp and shaping block to refine the edges and contours of the surfboard.
- Sand the surface to smooth out any imperfections and achieve the desired shape. Start with Tigershark sandpaper and gradually move to finer grits (150, 220).
Step 3: Painting and Decoration
Now comes the fun part—decorating your surfboard! This is where you can let your creativity shine.
-
Prepare the Surface:
- Wipe down the surfboard to remove any dust or debris.
- Mask off any areas you want to keep unpainted using masking tape.
-
Apply a Base Coat:
- Apply a base coat of paint using acrylic paint or spray paint. This will be the background color of your design.
- Allow the base coat to dry completely.
-
Create Your Design:
- Use paintbrushes to create your design. You can paint freehand or use stencils for more intricate patterns. DO NOT USE SPRAYPAINT ON EPS FOAM! It will melt the foam
- Layer colors and allow each layer to dry before applying the next.
-
Finishing Touches:
- Add any final details or highlights to your design.
- Once you're satisfied with your design, allow the paint to dry completely.
Step 4: Fiberglassing
Fiberglassing adds strength and a smooth finish to your surfboard. This step involves applying fiberglass cloth and resin.
-
Prepare the Resin:
- Mix your resin and hardener according to the manufacturer's instructions.
- Wear gloves and a respirator to protect yourself from fumes and skin contact.
-
Apply Fiberglass Cloth:
- Lay the fiberglass cloth over the surfboard, ensuring it covers the entire surface.
- Cut the cloth to size, allowing a few inches of excess around the edges.
-
Apply the Resin:
- Using a resin spreader, apply the mixed resin to the fiberglass cloth. Start from the center and work your way outwards to avoid air bubbles.
- Ensure the cloth is fully saturated with resin but not dripping.
- Allow the first layer to cure according to the resin manufacturer’s instructions.
-
Repeat for the Other Side:
- Once the first side is cured, flip the board and repeat the process on the other side.
-
Sanding the Fiberglass:
- After both sides are fully cured, sand the entire surface with 220 grit sandpaper to smooth out any rough spots or drips.
Step 5: Finishing the Surfboard
To protect your artwork and give the surfboard a polished look, apply a finishing gloss or varnish.
-
Apply the Seal Coat:
- Using a clean brush, apply a coat of resin to the entire surface of the surfboard.
- Allow the first coat to dry, then sand lightly with 220 grit sandpaper.
-
Second Coat (if desired):
- Apply a second coat of resin or varnish and allow it to dry completely.
Step 6: Displaying Your Surfboard
Once your surfboard is complete and the finish is dry, it's ready to be displayed.
-
Mounting Options:
- You can hang the surfboard on a wall using surfboard wall mounts or brackets.
- Alternatively, display it on a stand if you prefer to place it on the floor or a piece of furniture.
-
Location:
- Choose a location that highlights the surfboard as a focal point. Consider the lighting and background to enhance the visual impact of your artwork.
Tips and Tricks:
- Safety First: Always work in a well-ventilated area and wear protective gear, especially when working with resin and paints.
- Patience is Key: Take your time with each step, especially shaping and sanding, to ensure a high-quality finish.
- Practice Makes Perfect: If this is your first time working with these materials, consider practicing on a smaller piece of foam before starting your surfboard.
- Inspiration: Look for inspiration online or in surf culture for design ideas. You can also incorporate elements that are meaningful to you personally.
Conclusion
Creating a decorative surfboard is a rewarding project that combines craftsmanship with artistic expression. Whether you're an experienced DIY enthusiast or a beginner looking for a new challenge, following these steps will help you create a stunning piece of decor. Enjoy the process and let your creativity flow as you craft a surfboard that is truly unique and personal. Happy crafting!
