Longboard Center Fin Router Jig Install Kit
Longboard Center Fin Router Jig Install Kit
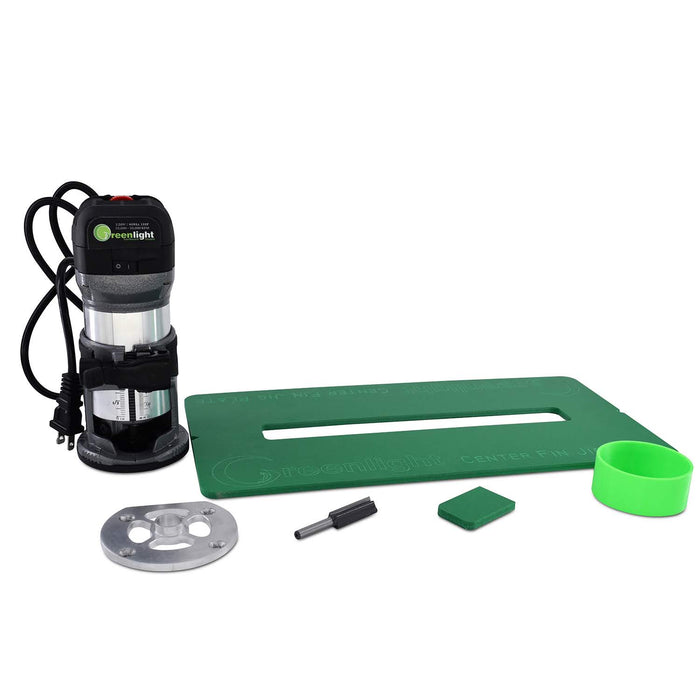
Designed for use with Greenlight's Variable Speed Router to install 10.5" and 8.5" longboard center fin boxes.
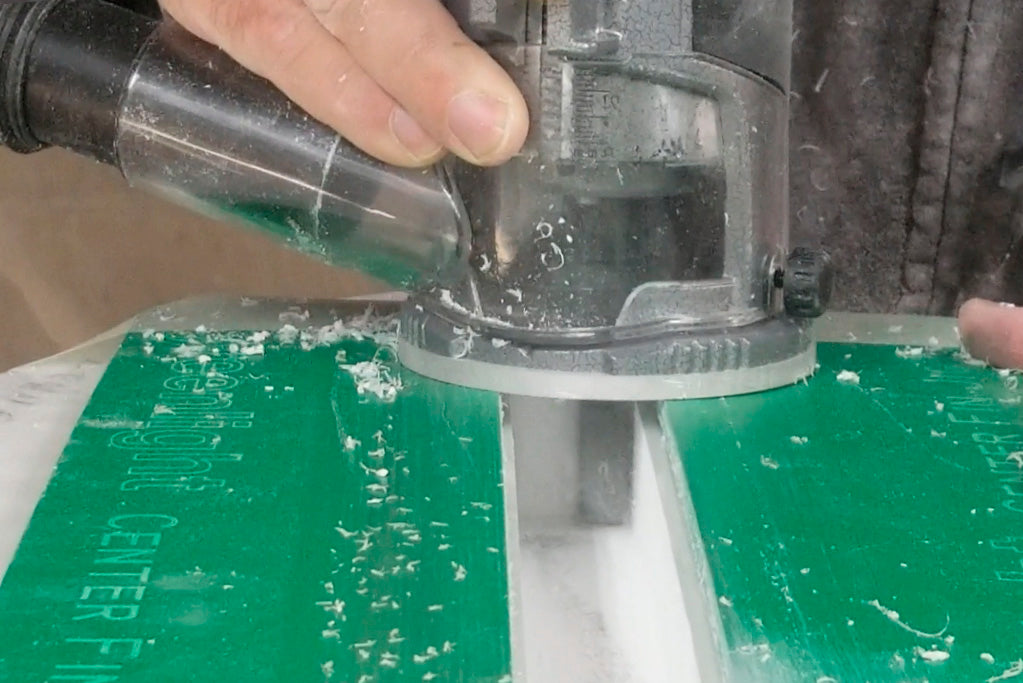
The safest and most economical way to professionally install center fins in your board. The Aluminum Bushing Base Plate screws to the router and allows you to take multiple shallow passes instead of one deep pass like other router jigs. Much safer an no router bit jumping when you hit the stringer (scary!).
We recommend plunging the router bit vertically into the foam starting on the right side of the jig to prevent the router from jumping. Do not rotate the router down into the foam or stringer like other dangerous fin install systems! Take incremental passes at 1/4", 1/2", 3/4", and 1" pocket depth to keep it easy and safe.
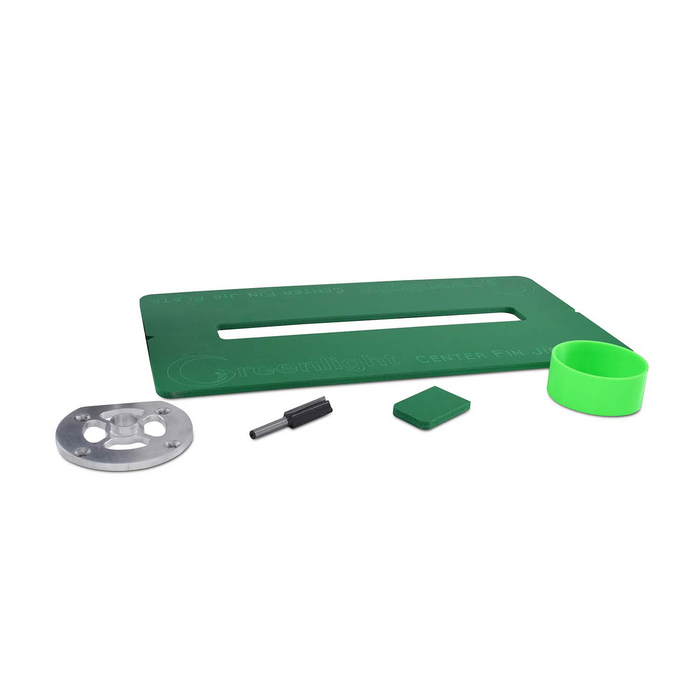
Kit includes:
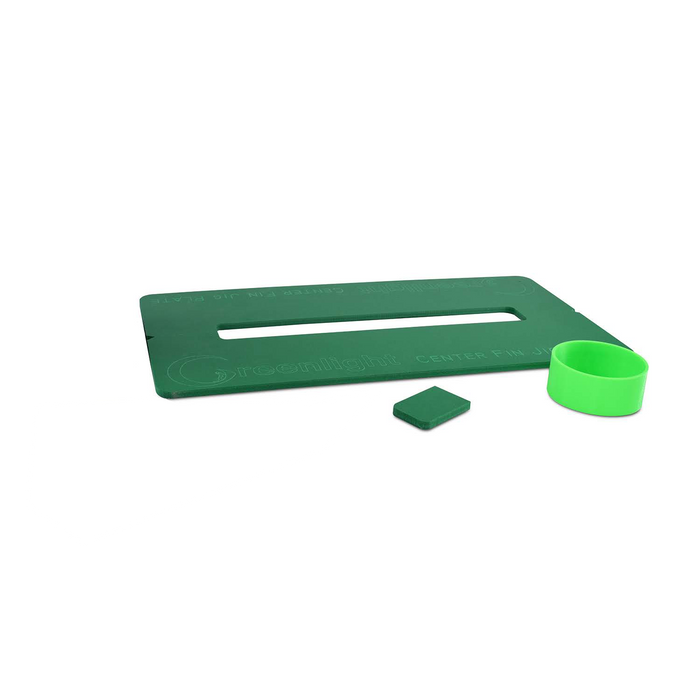
Center Fin Router Jig Template
Template Insert for 8.5" Center Fin Boxes
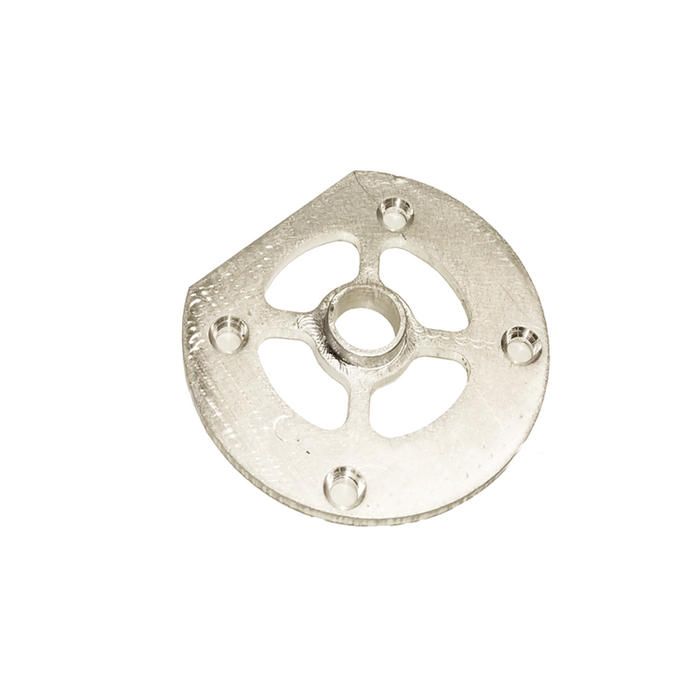
**Aluminum Router Base Plate (designed for Greenlight Router or Makita RT0701C)
1" Depth Stop Collar
1-1/4" straight router bit
*Router Jig Template and Stop Collar also available separately in drop down menu if you already have the aluminum base plate from another type of Greenlight fin box install kit.
**Aluminum base plate is required to work with jig plate for perfect fin box fit.
*Kit color may vary depending on raw material availability*
Choose kit with or without the Greenlight Variable Speed Router (or you can use a Makita RT0701C Trim Router)
10 Steps to installing a longboard surfboard centerfin box:
How to install a longboard center fin box with the Greenlight plunge router and center fin install template jig.
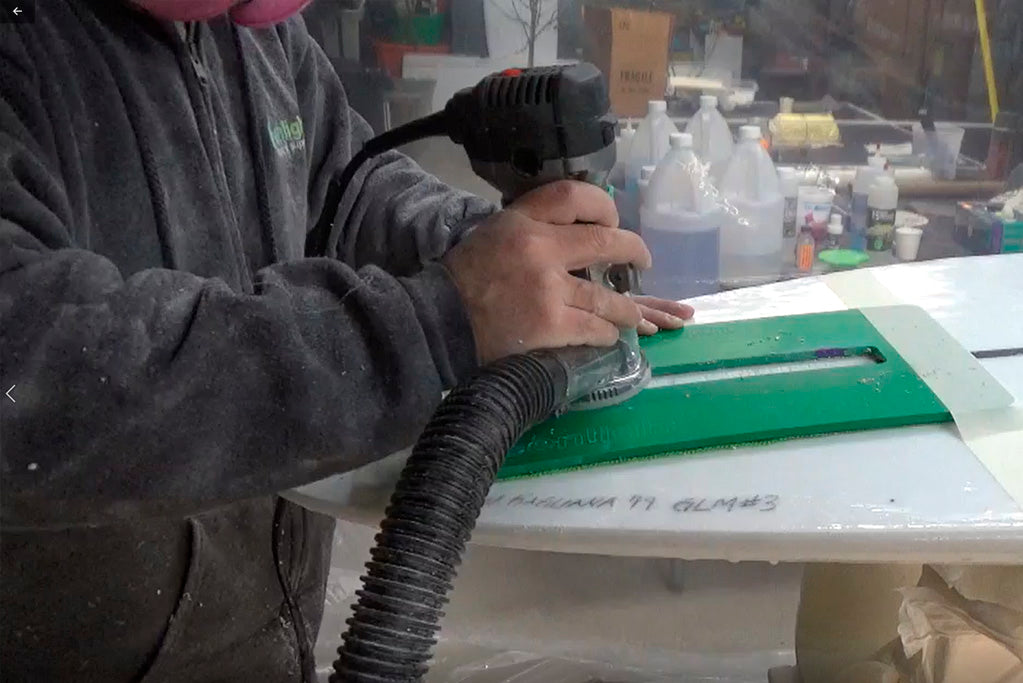
We've designed this finbox router system to be the safest way to install fin boxes by using a plunge routing method and plastic jig template.
Step 1. Position router jig and tape down firmly
Step 2. Place Greenlight Router Base Plate Bushing on RIGHT LOWER CORNER of jig (when the spinning router bit touches the board it will want to move sideways to the right, this won't happen if you start in the right corner position - safety first!)
Step 3. Turn on router to high speed and slowly plunge into the foam. Plunge the full 1" depth and skim cut the stringer with multiple passes to "shave" the wood away. DO NOT FORCE the router bit through the wood, let the cutter do the work with thin passes (much safer and no stress)
Step 4. Check the depth and size of the routed pocket is correct before removing the jig from the board.
Step 5. Cut a strip of fiberglass approximately 3" wide x 10" long for reinforcing the center fin box.
Step 6. Tape off the area around the pocket to keep resin off the fiberglass for less sanding.
Step 7. Mix 3 oz of resin and pour about 2 ounces into the routed pocket.
Step 8. Lay the fiberglass strip over the pocket and push the fin box down so the resin squeezes up. Top off the sides on the box with resin and pop any air bubbles. Make sure there are no air pockets around the perimeter of the fin box.
Step 9. Tape a dummy fin or piece of 3/8" wood to the board to keep the fin box perpendicular and put a downward force on the box to ensure it doesn't float up on the resin.
Step 10. When the resin cures sand the top of the fin box to the rocker curve of the surfboard and remove tape. You can remove any tape residue with WD-40 or acetone and scrape with a razor blade.

